Product demo guide

Show the product solving one real problem.

A useful product demo is not a tour of every menu. Pick one audience, record the shortest believable path to a result, then use captions, zooms, narration, and a clean edit to make that result easy to understand.

Maintained by the FrameCompose product team · Last reviewed 12 August 2026

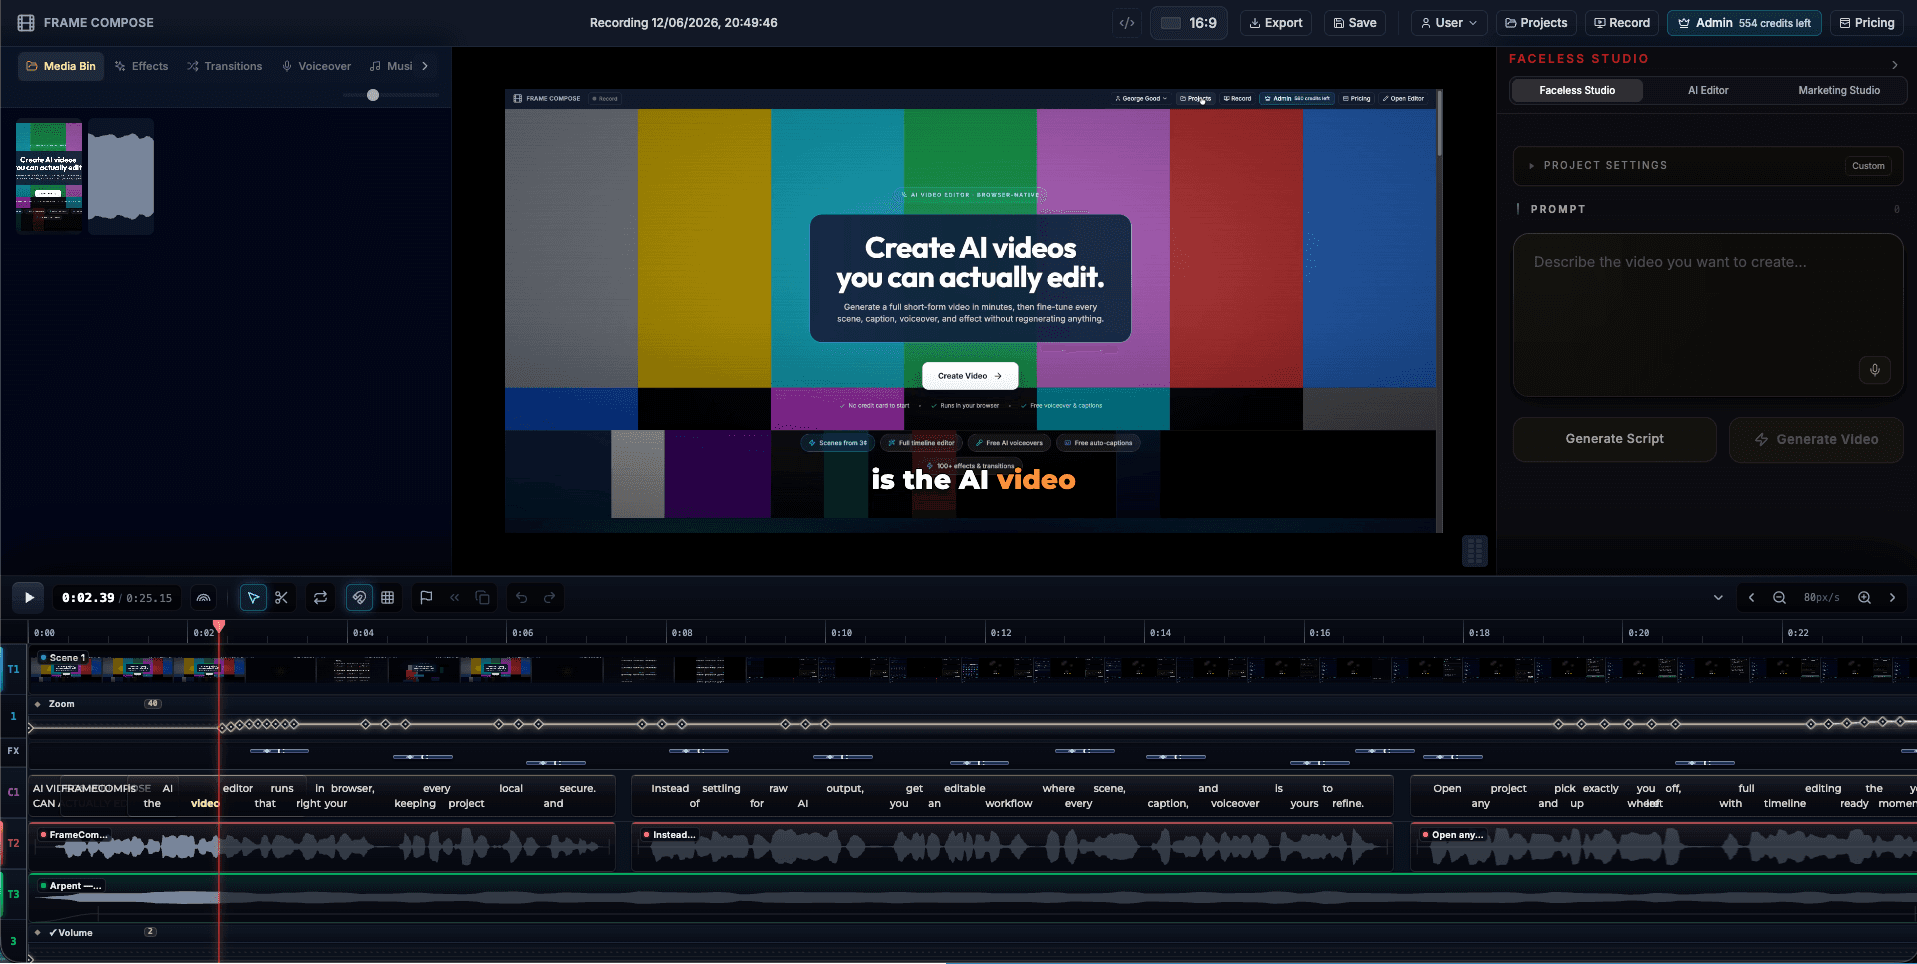
FrameCompose turning a product screen recording into an edited demo with captions and zooms
The screen recording, captions, zooms, narration, and music remain editable.

Define one viewer, one problem, and one promised outcome.

Record a clean path through the product without unnecessary detours.

Use captions and zooms to explain what the cursor alone cannot.

Export a focused version for the website, sales team, or social feed.

1. Choose the result the demo must prove

Start with a sentence: “After this demo, the viewer should believe they can do X.” X might be publishing a campaign, finding an error, inviting a teammate, or creating a report. That decision determines what belongs in the recording and what should be left out.

Use a realistic account and believable sample data. A polished interface with empty states rarely proves that the product works in a real workflow.

2. Prepare and record the shortest clean path

Close private tabs and notifications, increase the interface zoom if labels are small, and rehearse the path once. Record a little before the first action and after the final result so the edit has room to breathe.

If you make a mistake, pause and repeat the action cleanly. A repairable recording is usually faster than restarting a long walkthrough from the beginning.

3. Build the story around the buyer

Open with the problem and outcome, not a logo animation. Keep setup brief, show the decisive product action, then make the result visible. Remove navigation that does not help the viewer understand that sequence.

For a longer demo, organise the edit into a few named chapters. For a short social clip, keep one action and one payoff rather than compressing the entire product into thirty seconds.

4. Add zooms, captions, and narration selectively

Zoom when the viewer needs to inspect a control, value, or state change. Captions should clarify the benefit and keep the demo understandable without sound; they should not transcribe every mouse movement.

Use narration when context is missing from the screen. Keep it synchronised with the visible action so the viewer never has to remember an explanation while waiting for the product to catch up.

5. Review the evidence and export for its destination

Check that the demo contains no customer data, private notifications, stale claims, or unreadable text. Watch once at normal size and once on a phone-sized viewport before publishing.

A landing page usually needs a concise wide version, while Shorts and Reels need a vertical cut with a faster opening. Keep the editable project so feature names, prices, and interface changes can be updated later.

Frequently asked questions

A few quick answers before you jump in.

How long should a product demo video be?

Use the shortest runtime that proves the promised outcome. A focused landing-page or social demo may be 20 to 60 seconds, while a sales or onboarding walkthrough can be longer when each step is necessary.

Should a product demo use voiceover?

Use voiceover when the benefit or context is not obvious from the interface. Keep captions as well, because many viewers begin watching with sound off.

What should I remove from a product walkthrough?

Remove loading, repeated navigation, setup the target viewer already understands, unrelated features, mistakes, private data, and any action that does not support the promised result.

Can I update the demo after the product changes?

Yes. Keep the recording, captions, narration, zooms, and music in an editable project so individual sections can be replaced when the interface or claim changes.

Related pages

Explore the rest of the workflow, from first idea to final export.